Adding a Custom Notification
If custom notifications are enabled, you can use Add Custom Notification to create a new, custom notification rule.
Add a custom notification
- From the navigation menu, select Admin > Notifications Admin.
-
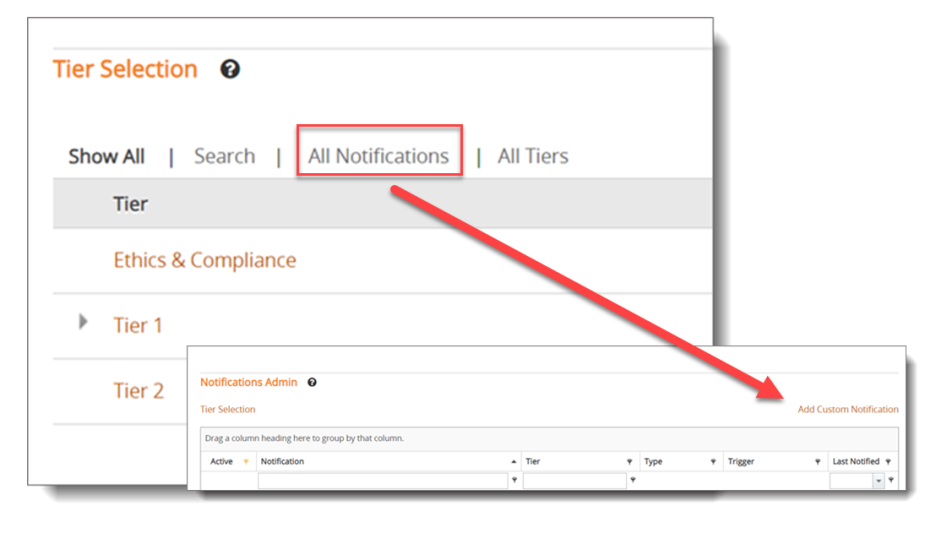
Click Notification Rules, and then select All Notifications.
- Select Add Custom Notification in the top right corner of the next page.
- Enter a Name and a Description for the new notification rule.
- In the Notification Tier section, do one of the following:
- Select a specific tier name from the list.
- Leave the setting unchanged to keep all tiers selected.
- Select a Notification Trigger from the list.
- In the Notification Rule section, set the Field, Operator, and Value for the new notification rule.
- In the Notification TaskType section, select the check box for the specific task type to notify when a task related trigger is selected.
- You can choose the Select All option to notify all task types.
Note: The Notification TaskType section only appears if a task related trigger is selected.
- In the Notification Recipients section, select the check box next to each user you want notified when the selected case field changes.
- To select an individual recipient, type their name into the Individual Recipient text box.
- In the Notification Message section, do one of the following:
- Make no changes to keep the default message
- Create a custom message using the available tokens. Tokens are available in the Tokens list.
Tip: To activate the Tokens list, select an area in the message body where you want the token to appear, and then click the Tokens list.
-
In the Notification Options section, do the following:
- Select the Active check box to activate the notification.
- Select the User can choose to opt out of notifications check box to allow users to opt out of this notification.
- Select Save.
Copyright © 2025 NAVEX Global, Inc. NAVEX Global® is a registered trademark/service mark of NAVEX Global, Inc. The NAVEX Global® logo is a trademark/service mark of NAVEX Global, Inc. Unauthorized use of NAVEX Global, Inc.’s trademarks/service marks is strictly prohibited without prior written permission from NAVEX Global, Inc.