Customizing a List Display
Many pages in Third-Party Screening & Monitoring display lists of information in grids that can be filtered and sorted. After customizing a grid's settings, you can save and name multiple custom views of the data.
Note: Unless you are saving a setting as the default, any changes you make are retained until you log out.
Customize a List Display
On the Third Parties, Reports, Unreviewed Reports, Users, Task Template, Notes, and Risk Codes pages, and on the tabs in the Third Party Details page, you can modify the list display in the ways outlined below.
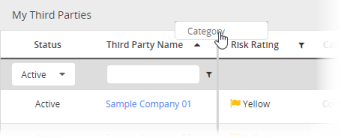
Click and drag and drop a column header over a column separator. Repeat until the columns are in the desired order.
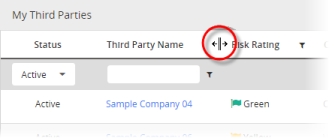
Hover the pointer over the line between two column headers until the pointer changes to a two-headed arrow, and then click and drag the column separator.
Click a column header to sort the user list by that item. An up or down arrow appears in the current sort column.
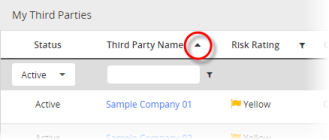
Click the header of the current sort column to reverse the sort order from ascending to descending, or vice versa.
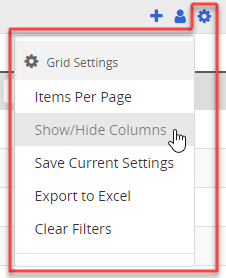
Click ![]() and then Show/Hide Columns.
and then Show/Hide Columns.
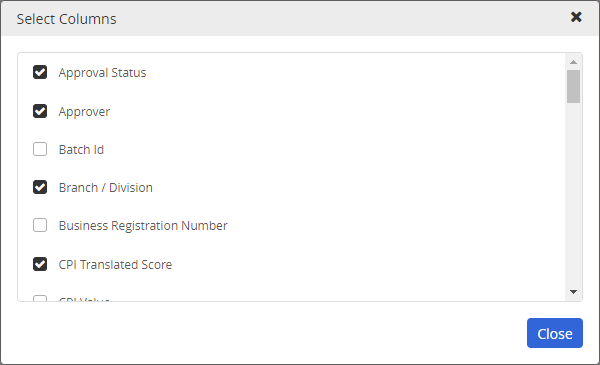
Select or click to clear column check boxes, and then click Close.
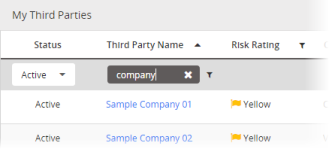
In the filter box below the column heading, type in the filter text.
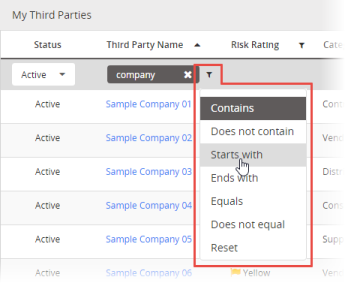
By default, the filter returns only those entities with the column text that contains the filter text. To change how the filter works, to the right of the filter box, click ![]() , and then select a filter criterion.
, and then select a filter criterion.
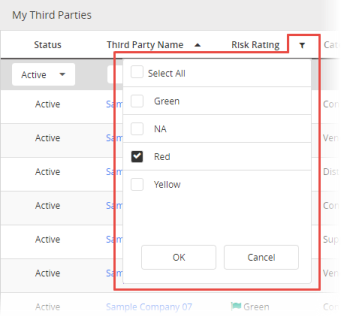
For some columns that contain a set number of predefined values, a filter menu is available for selecting predefined values. Click ![]() after the column title, and then select one or more values.
after the column title, and then select one or more values.
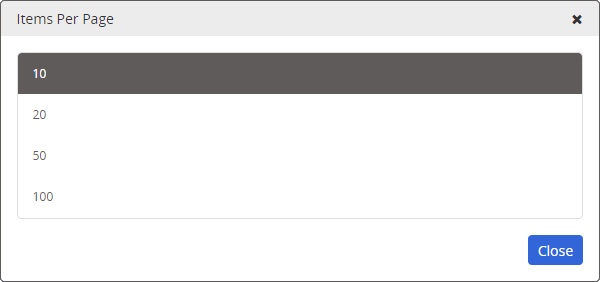
To change the number of items displayed in each page, click ![]() , click Items Per Page, select a number, and then click Close.
, click Items Per Page, select a number, and then click Close.
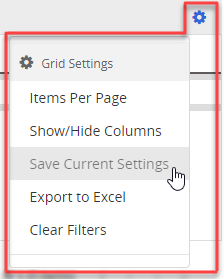
In all grids, you can save and name multiple custom views of the data, including column selections and sequence, filtering, and sorting. Click ![]() and then Save Current Settings to save and name a current view.
and then Save Current Settings to save and name a current view.
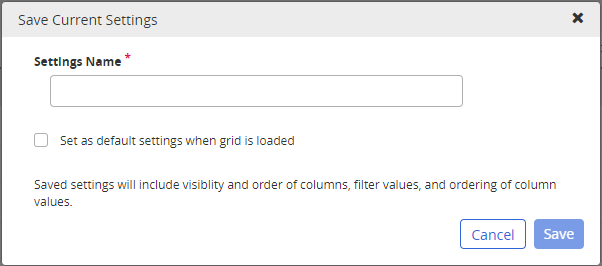
Provide a descriptive Settings Name and select whether to set it as the default view when the grid is loaded. Then, click Save.
Saved settings appear in a list under My Saved Settings.
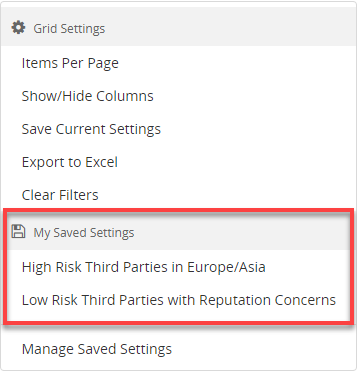
|
Tip: On the grid, when one of these settings is applied, the settings name displays in the grid header. Click the X of the saved setting to clear the applied filter(s).
|
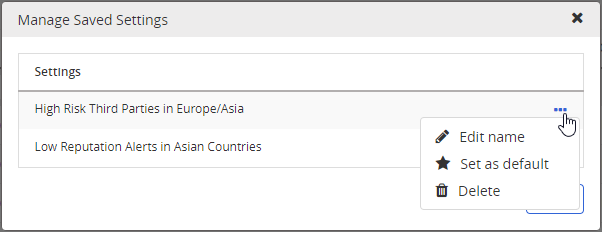
To further manage saved settings, click ![]() and then Manage Saved Settings.
and then Manage Saved Settings.
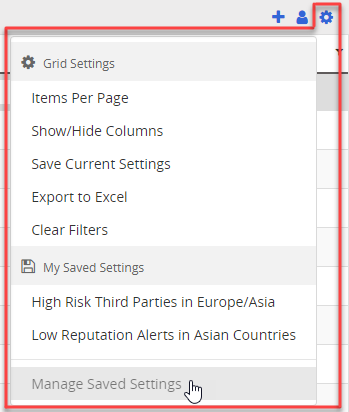
Click the ellipses icon of the saved setting to Edit name, Set as default, or Delete.
