Use Unreviewed Screening Reports
Important: This feature is only available to Level 1 or 2 users who have been granted the permission to disposition adverse media / sanctions events.
Note: This is an optional feature. If you wish to enable this for your organization, contact NAVEX Customer Support by submitting a request in the Community.
As an opt-in feature, Unreviewed Screening reports allows users to view and manage individual adverse media and sanctions events returned by Third-Party Screening & Monitoring’s Reputation Screening partner. Users can remove events that are not relevant before finalizing a Reputation Screening type report. Events related to a third party are grouped by alerts related to the screened entity. Users can bulk select various alerts or individual events and remove them in bulk. Likewise, customers with large queues can bulk finalize reports without reviewing each event. Finally, automated business rules can be created based on the Unreviewed Report status.
Review and Manage Adverse Media / Sanctions Events
To review and manage Unreviewed Screening Reports:
-
From the Reports menu, click
 and then Unreviewed Reports.
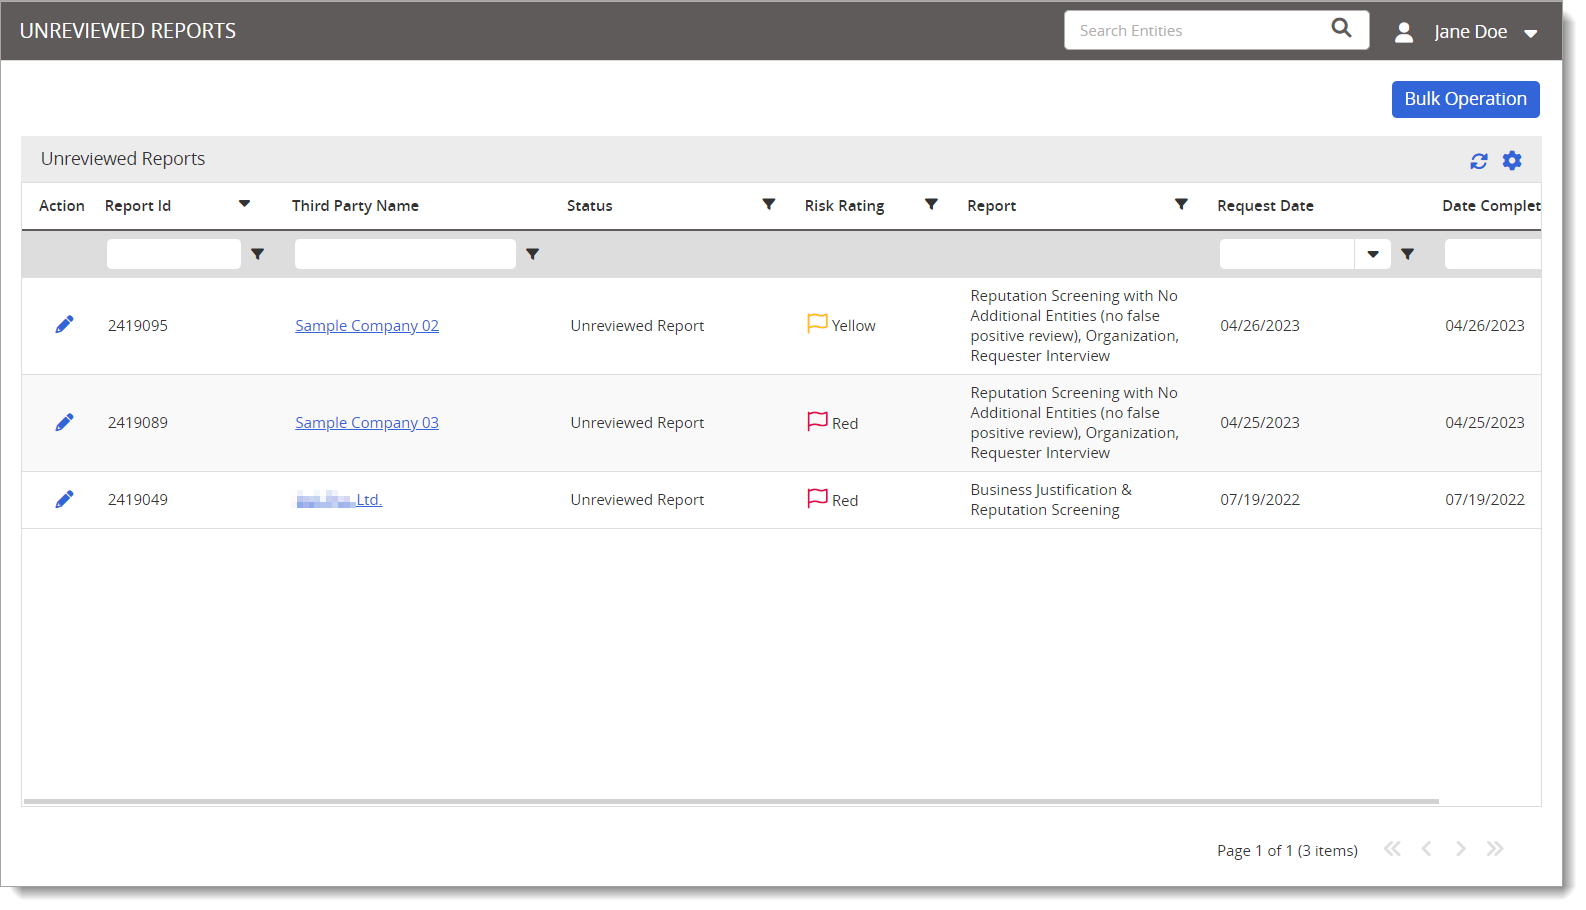
The list of Unreviewed Reports displays.
-
Click
 from the Action column select Review and Manage Adverse Media / Sanctions Events.
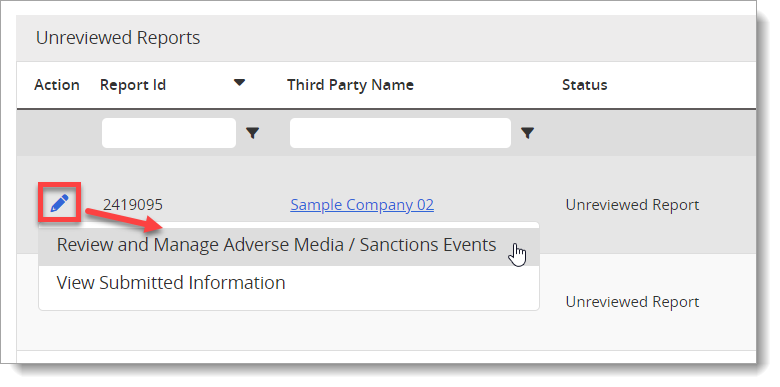
An Events screen appears that shows all alerted events from that third party's report.
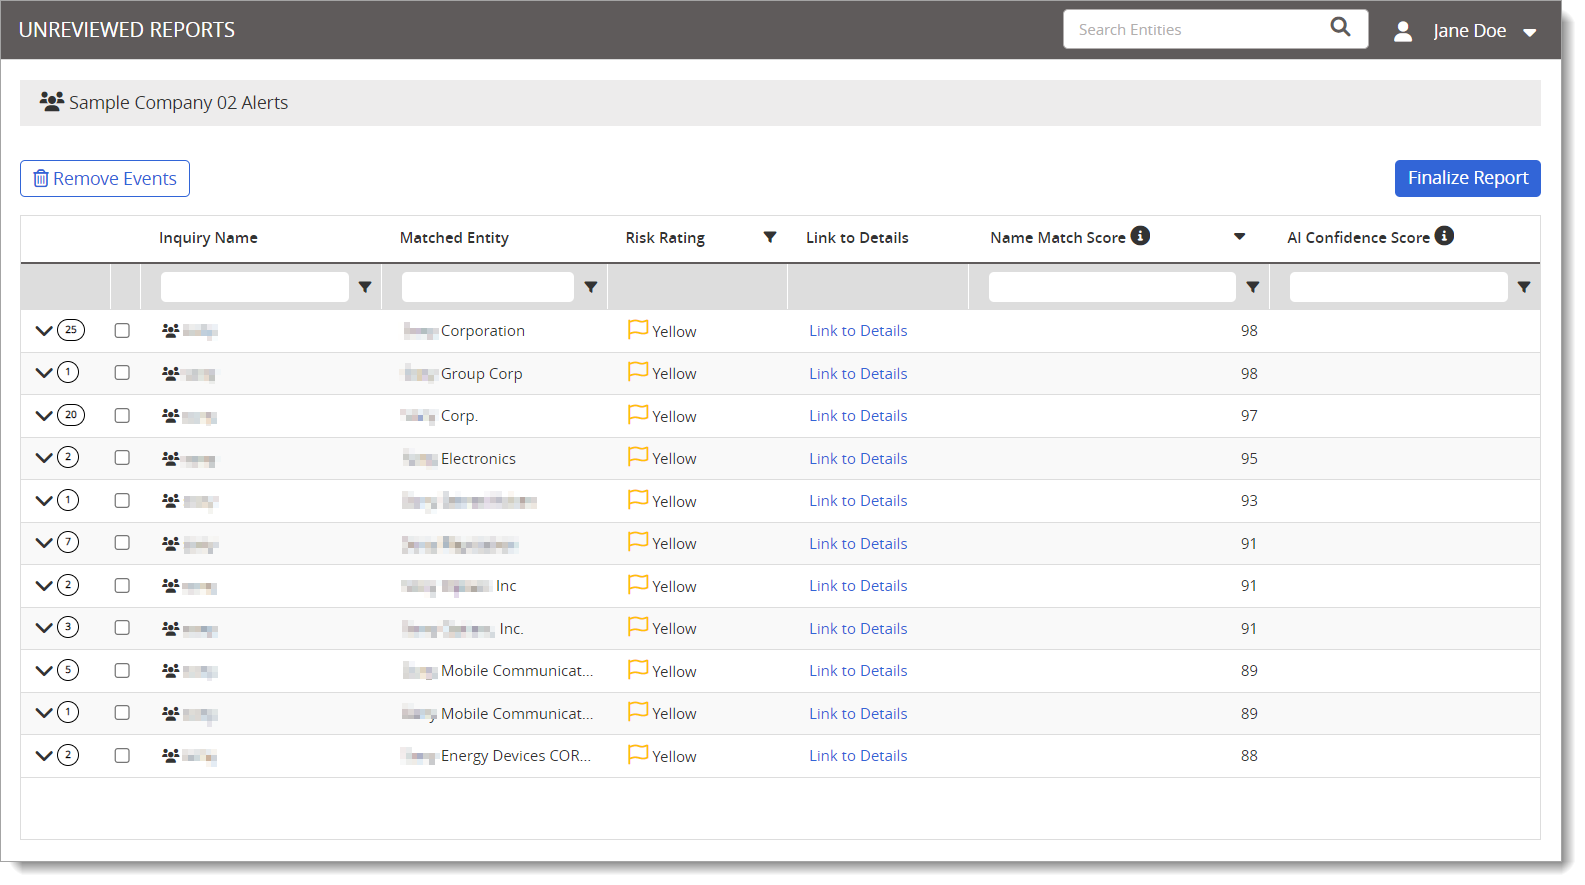
The Events screen includes the following columns for Alerted Events:
Column Description Inquiry Name Name of entity submitted for screening by a Third-Party Screening & Monitoring customer Matched Entity Entity match returned by Third-Party Screening & Monitoring's Reputation Screening partner Risk Rating Risk rating assigned to the event code Link to Details Link for further details on the entity's events Event Description Link opens a new window and displays event details provided by Third-Party Screening & Monitoring's Reputation Screening partner AI Confidence Score If using AI-Led Reviews, this is the Artificial Intelligence confidence score calculated by machine learning models and based on a prediction that an analyst would produce the same result for an inquiry. Name Match Score If firm is not an AI-Led Review using Analyst Reviews, this is a score between 1 and 100. The higher score indicates a higher likelihood that the entity returned matches the entity submitted. Event Category Category of the event Event Date Date of the alerted event, if available Source If available, a clickable Source Link is available for additional event information. Otherwise, the event's headline text or "Not Available" displays. -
From here, perform any of the following:
Remove Events
Each individual event can be reviewed, and if it is deemed not relevant, the user can remove that event from the report so that it does not impact the final report score.
To remove an event:
-
Click
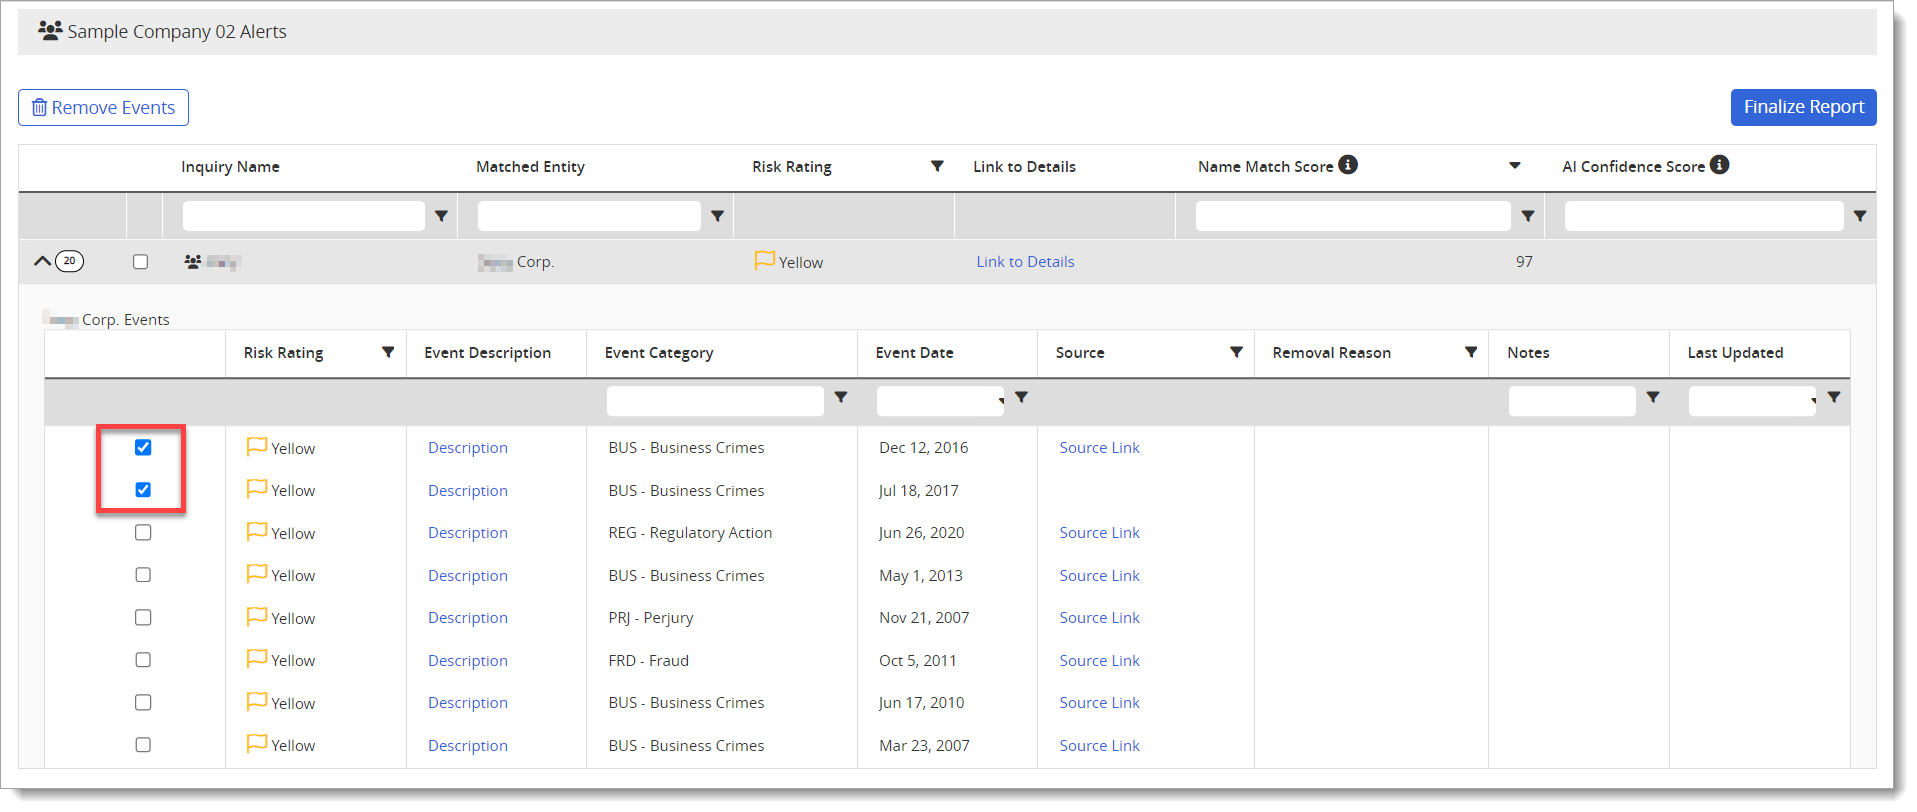
 to expand all the Event information for that entity.
 -
Review the Events as needed.
-
To remove individual events, click the check box next to each one.
-
To remove all events, click the check box located at the top of the grid to select all.
-
Click Remove Events.
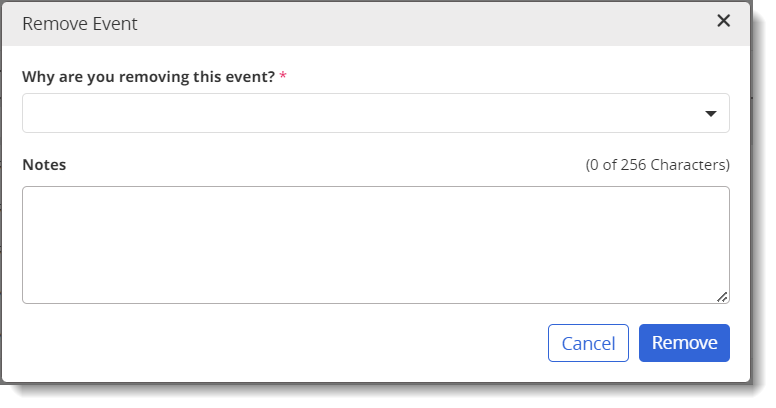
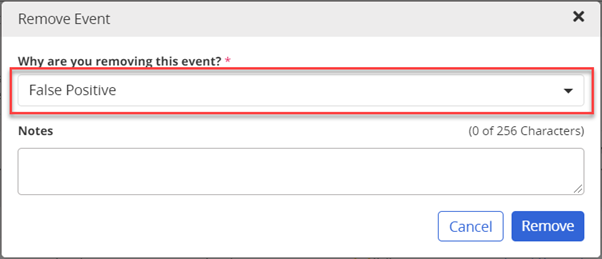
A Remove Event window displays.
-
Select a reason from the drop-down list.
-
(Optional) Add notes as to why the event is being removed.
-
Click Remove.
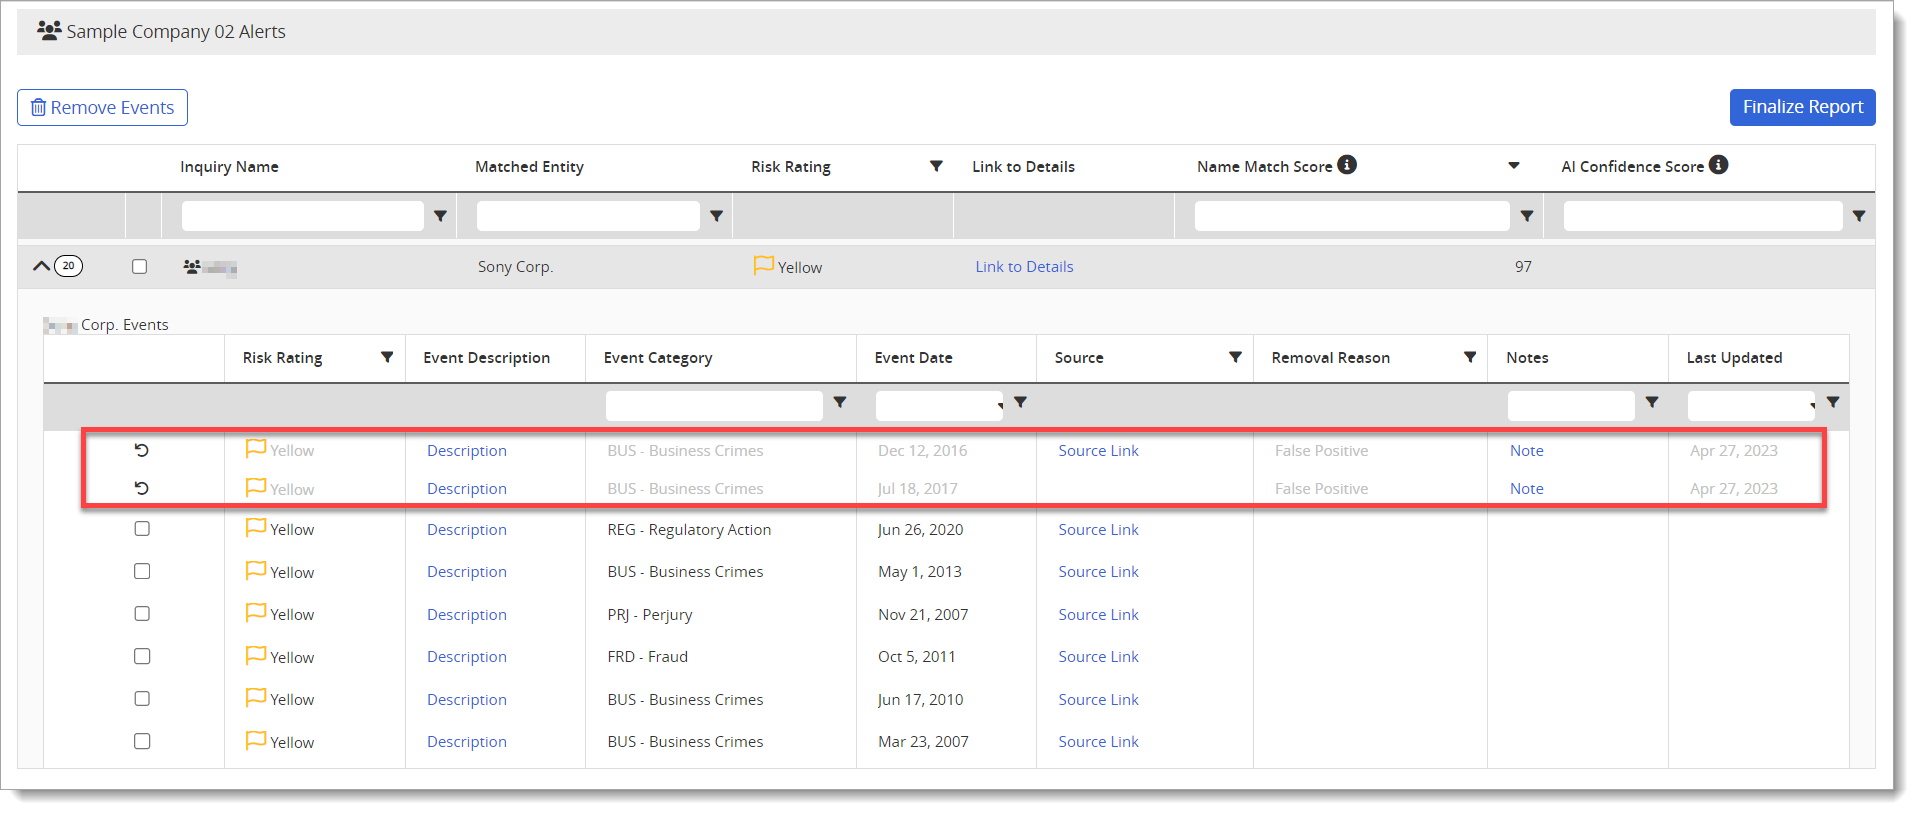
Once the event is removed, it becomes grayed out. The notes can be viewed, and information links are still available.
-
Repeat the process as needed for each entity until all applicable events are removed.
Note: You can undo removing an event before finalizing the report. Click the Undo icon (![]() ) from the left column. The event will no longer be grayed out.
) from the left column. The event will no longer be grayed out.
The removed events will include the Events columns as well as the additional following columns:
-
Removal Reason – Submitted reason for removing the event
-
Notes – Link that includes any note text added for context / reason for removing the event
-
Last Updated – Date the user that modified the event
Finalize Report
After reviewing, to finalize the report:
-
From the Events screen, click Finalize Report.
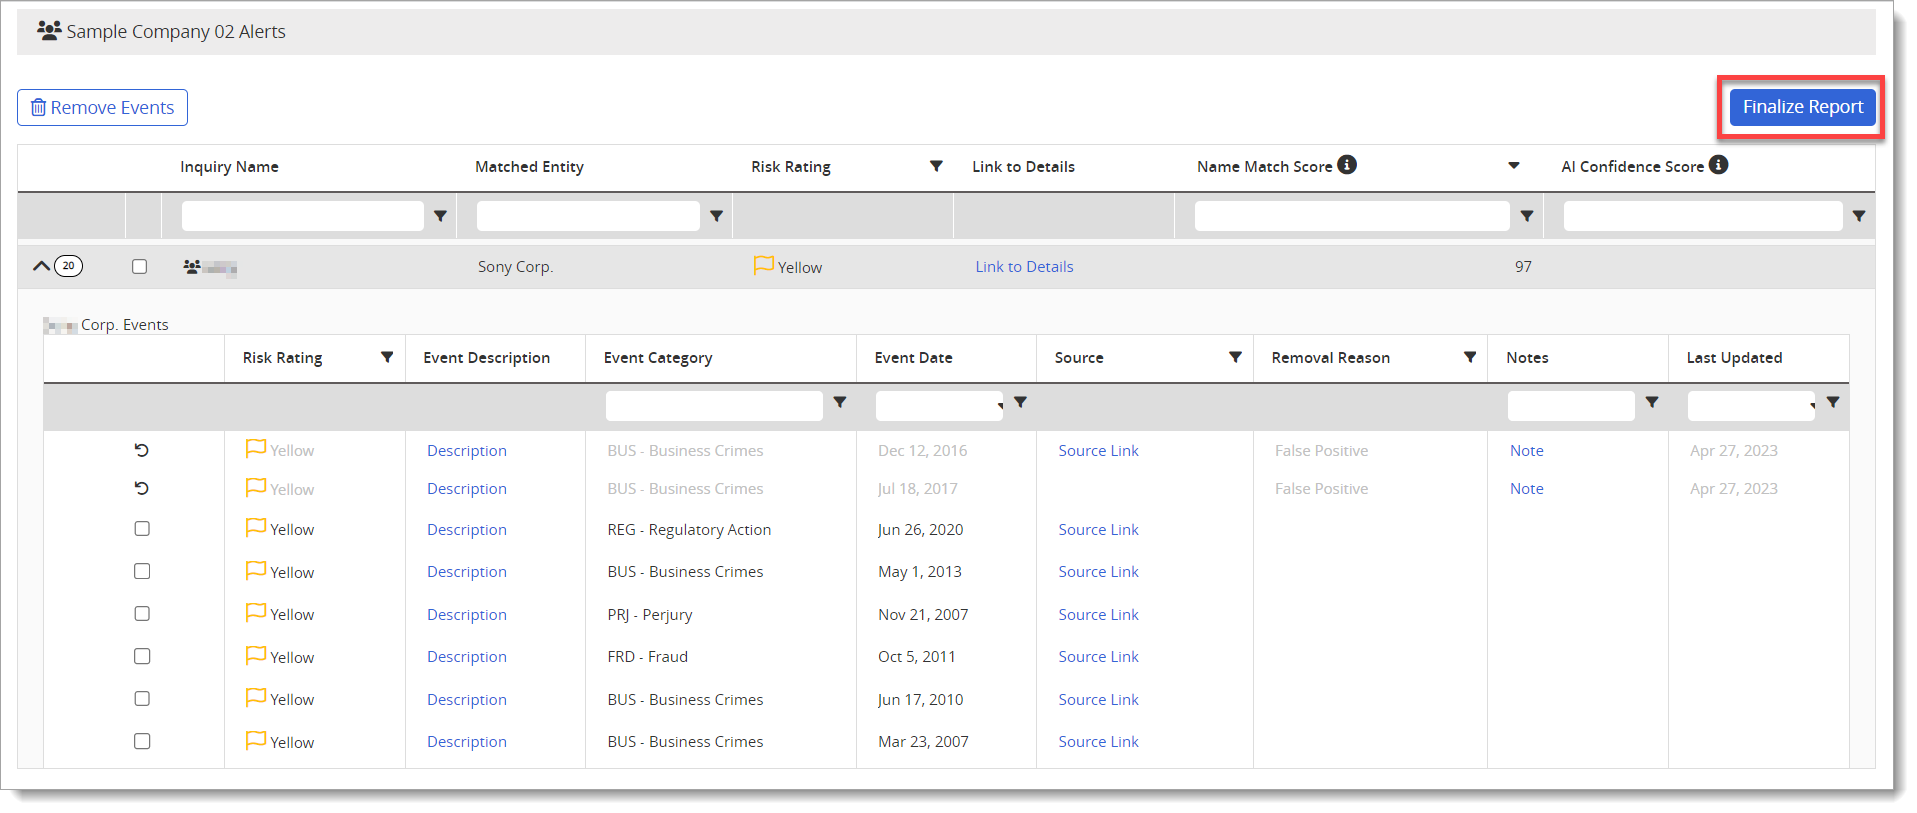
A confirmation window displays.
-
Click Yes. A Success message displays and the Events window closes. The screen redirects to the Third Party Details page for which the report was finalized.
Otherwise, to cancel the action, click No and the Events window closes.
Note: If all events are removed, a final Reputation Alert will be generated and Risk Rating will be "None" with no impact to the final report score. If all events are not removed, a final Reputation Alert report and PDF will be generated and a Risk Rating based on the events still included in the report.
Bulk Finalize Reports
If your organization has large unreviewed report queues, Level 1 or 2 users assigned as Dispositioners can bulk finalize reports without reviewing each event.
To bulk finalize reports:
-
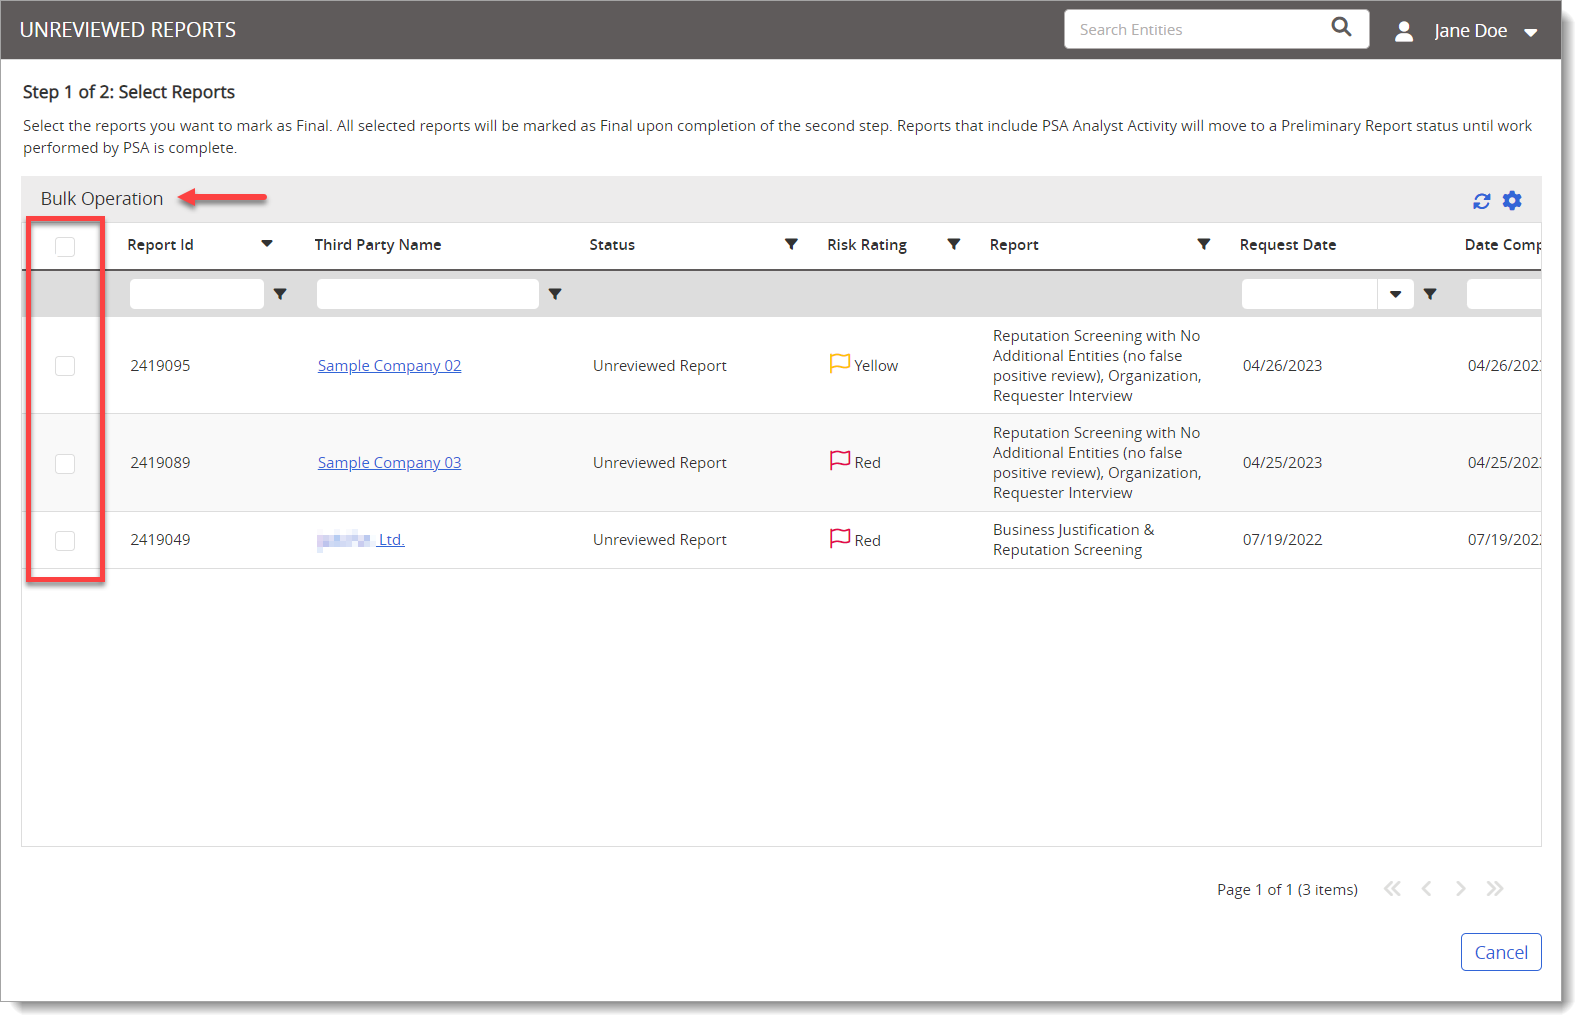
From Unreviewed Reports, click Bulk Operation.
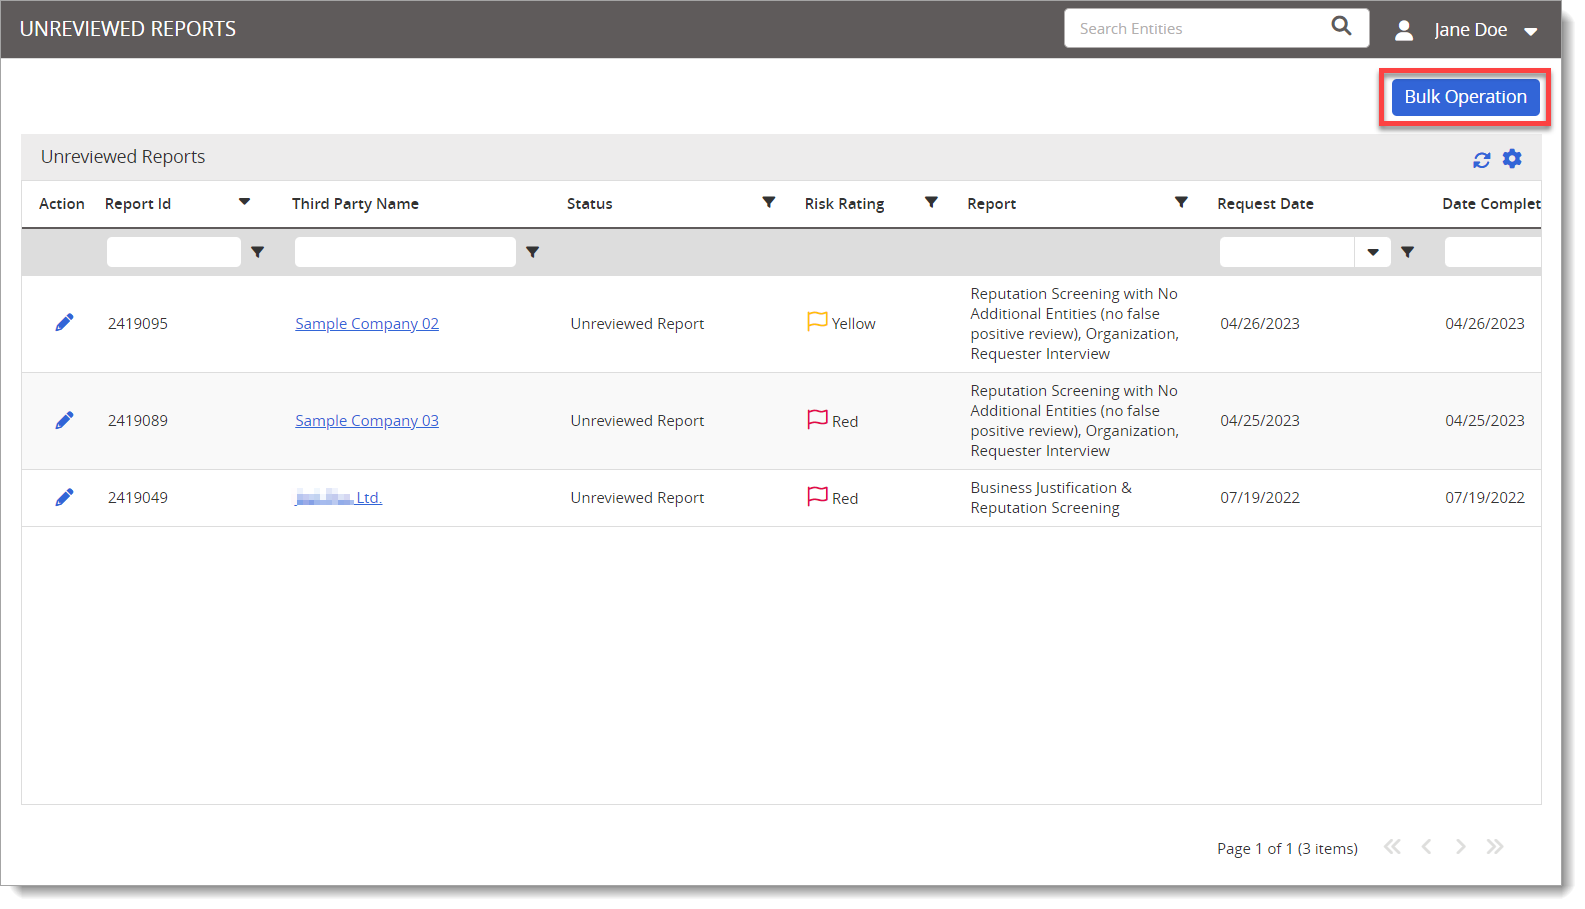
After that option is clicked, Bulk Operation displays in the grid. A column to the left with check boxes for selection appears.
-
From the selection column, click the Select All check box at the top or manually select the ones to bulk finalize. Use the navigational arrows at the bottom if needed.
-
Click Next. A confirmation screen displays.
Note: This operation will score and finalize all selected reports, as well as trigger any applicable business rules that your organization might have in use. The action cannot be undone.
-
Click Continue to proceed with the bulk operation.
A confirmation window displays to indicate that the system is scoring and generating final reports, and that processing will run in the background during the length of time it takes to complete the bulk operation.
-
Click OK at the confirmation window.
View Adverse Media / Sanctions Events
Level 1 or 2 users who are not assigned as Dispositioners and therefore do not have permission to bulk finalize reports can still view adverse media / sanctions events. These can be viewed from the Reports page or Reports tab from the Third Party Details page.
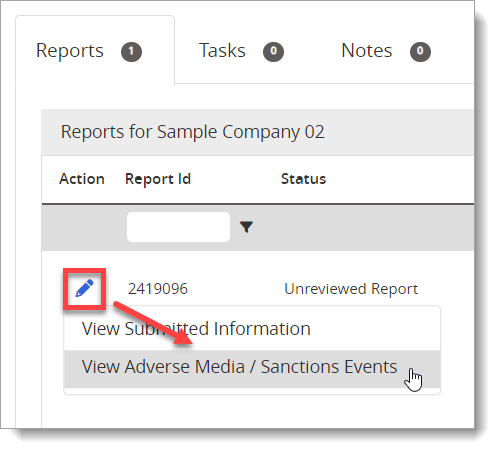
The Alerted Events for that report display, but the user will not be able to finalize the report.

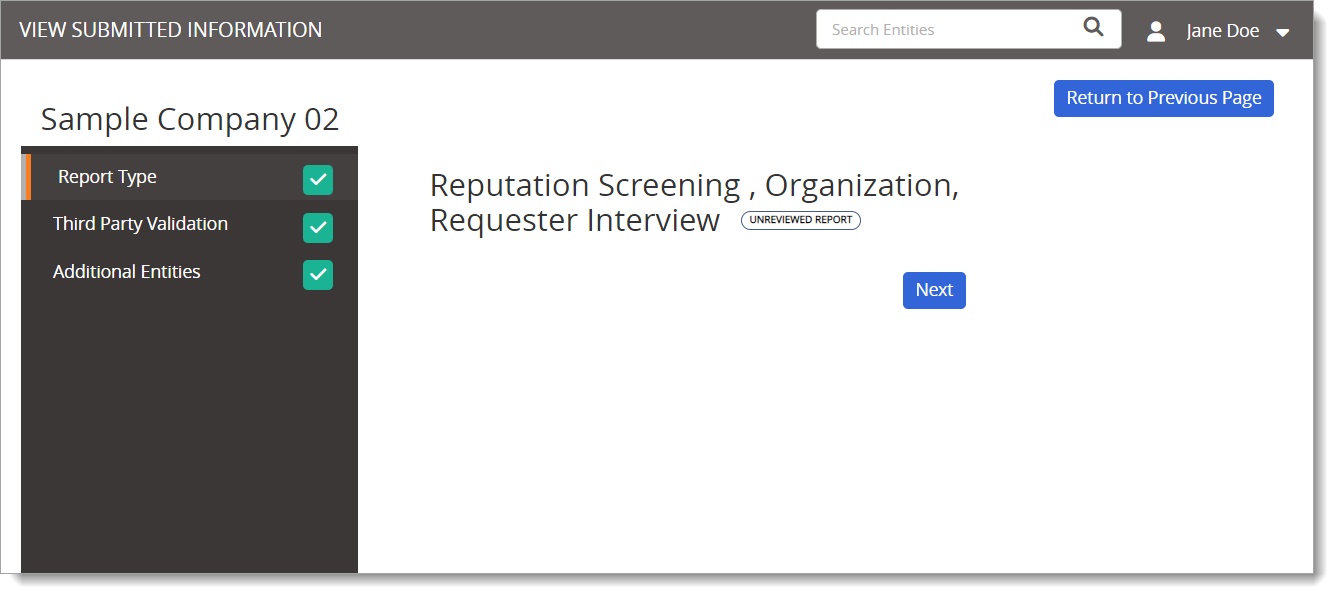
View Submitted Information
This option allows the user to view information about each alerted event. This option allows the user to view information about the report, including Report Type, Third Party Validation information, and Additional Entities.
To view submitted information:
-
From the Action column, click
and then View Submitted Information. 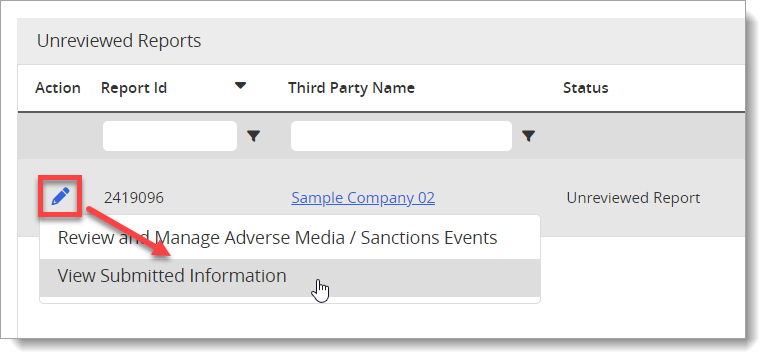
-
The screen displays the Report Type and then you can click Next.
-
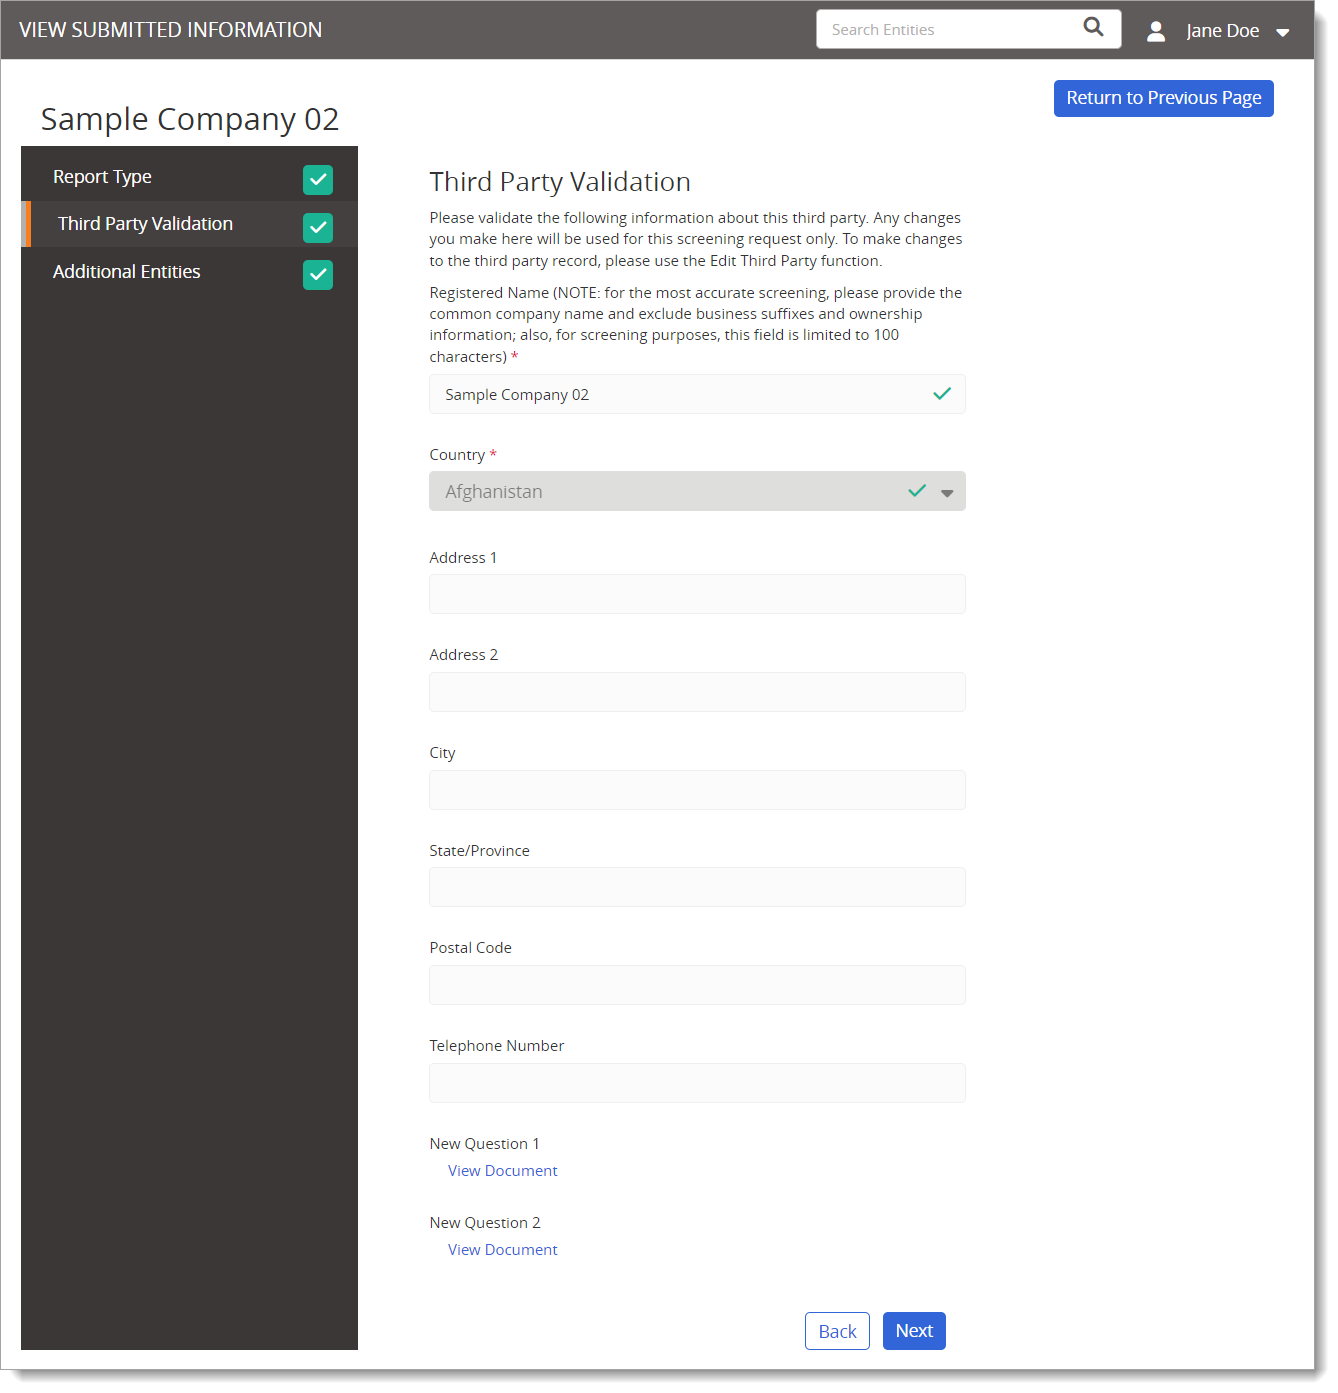
The Third Party Validation screen displays and then click Next.
-
Depending on the report type selected, there might be an additional screen, such as Additional Entities or Business Justification. Click Next.
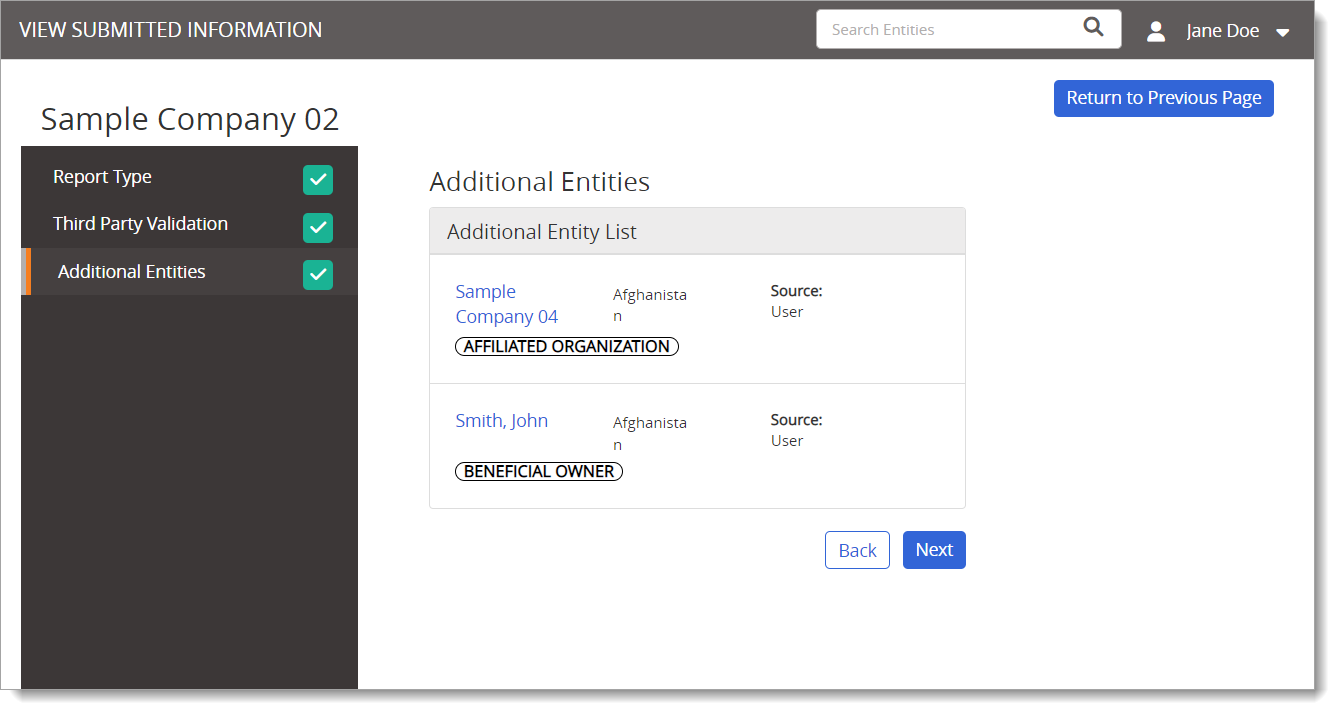
This will redirect you back to the page you were on before viewing submitted information.
Note: You will not be able to change any of the submitted information, but view only.
Copyright © 2026 NAVEX Global, Inc. NAVEX Global® is a registered trademark/service mark of NAVEX Global, Inc. The NAVEX Global® logo is a trademark/service mark of NAVEX Global, Inc. Unauthorized use of NAVEX Global, Inc.’s trademarks/service marks is strictly prohibited without prior written permission from NAVEX Global, Inc.