Performing a Batch Upload of Third Parties
Batch Upload provides the ability to add or update multiple third parties at one time. Additionally, you can request reports or monitoring for the third parties included in the upload. To perform a batch upload, enter the third party information into an Excel file, and then upload the file into Third-Party Screening & Monitoring.
Note the following regarding batch uploads:
-
If you are using Batch Upload to update existing third parties, make sure to include the third party ID assigned for each existing third party. This will prevent the creation of duplicate third parties.
-
If you have business rules in place to automate requesting a screening, do not request screenings as part of a batch upload; the system will do this automatically once the third parties are added.
-
If you are uploading third parties that are organizations and third parties that are persons, you will need to perform separate batch uploads for each third party type.
-
Use the appropriate template for the upload type, and do not remove or rename columns or tabs in the template spreadsheet. For more details, see Batch Upload Template Instructions.
Perform a Batch Upload of Third Parties
To perform a Batch Upload:
-
From the Admin menu, click Batch Upload. The Batch Upload page displays your upload history.
-
Click Download Batch Upload Instructions, and carefully read the "Batch Upload and Screening Instructions" downloaded file before continuing.
-
Click
 on the Batch Upload History grid header, and then select Batch upload Third Parties to open the Batch Upload Wizard. Then, follow the prompts in the wizard:
 Step 1: Retrieve Template File
Under Do you need a template file?, do one of the following:
- Click Yes, and then click Organization or Person. Click Download Batch Upload Template to start the download. Follow the prompts to open the downloaded template.
Important: Because our data partner stores the screening information for organizations and persons in two separate databases, it is important that you use the correct upload template to upload third party information. In addition, if a person is also registered as a DBA (doing business as), LLC, or incorporated entity, you should upload (or manually create) that entity both as a person and as an organization so that both screenings can be done.
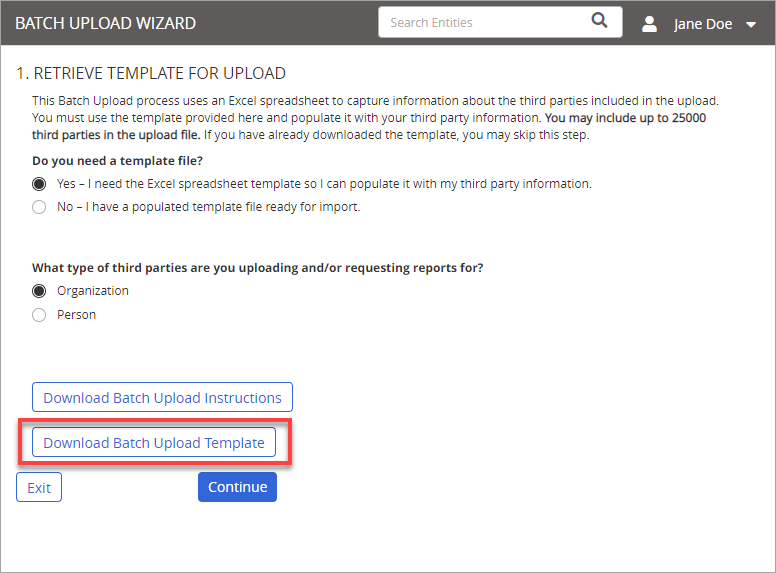
- If you downloaded a batch upload template previously and want to use that template to add or update third parties, click No.
Step 2: Add Third Parties to Template
-
From the Batch Upload Wizard, do one of the following:
-
If you just downloaded and opened the batch upload template, enable it for editing and then enter the third party information. See Batch Upload Template Instructions for details.
-
If you are using a previously downloaded batch upload template, open it and add third parties or modify existing third party information.
-
Click Continue.
Important: If using Batch Upload to modify information for existing third parties, make sure that you include the third party ID of each third party you need to update in the batch upload template. This will prevent the creation of duplicate third parties. (For details on how third party IDs affect a batch upload, see Batch Upload Template Instructions.)
Note: If the Batch Upload wizard is no longer displayed, simply repeat steps 1 through 4 above, but select No for Do you need a template file?. Click Continue, and then click Organization or Person, depending on the type of template you downloaded previously.
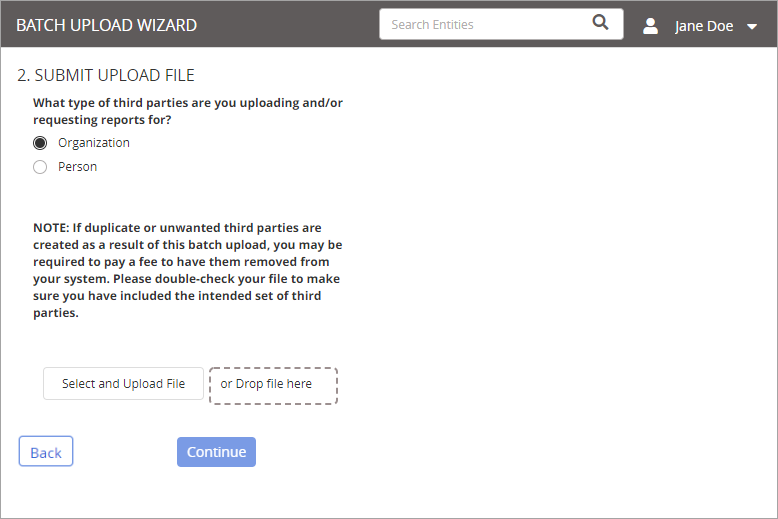
Step 3: Submit Upload File
-
From the Batch Upload Wizard, do one of the following:
-
Click Select and Upload File, find and click the file you want to upload, and then click Open.
-
Open Windows Explorer, find the file you want to upload, and then drag and drop the file onto the Drop file here box in the Third-Party Screening & MonitoringSubmit Upload File page.
-
-
After the file information appears on the screen, click Upload.
-
Third-Party Screening & Monitoring does a preliminary check of the file and displays one of the following prompts, depending on the outcome:
-
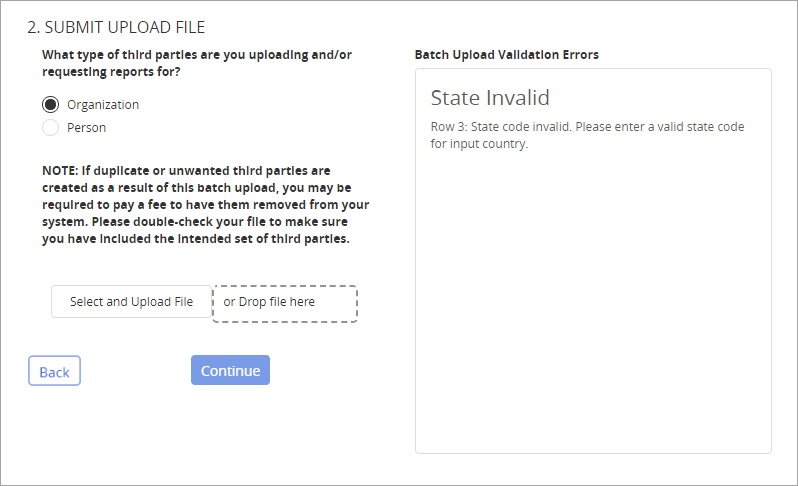
If the file contains one or more errors, you are returned to the Submit Upload File page with the errors displayed on the right. Each error in the list includes a description and the error's location in the worksheet. Fix the listed errors then upload the Excel file again.
Note: If there are multiple types of errors, you may need to repeat this process until all errors are fixed.
-
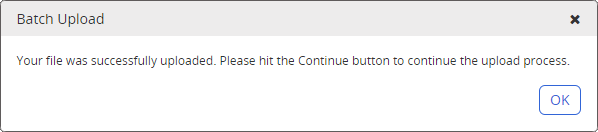
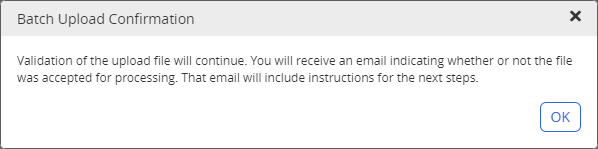
If the file contains no errors, you'll see the prompt below. Click OK, and then click Continue.
-
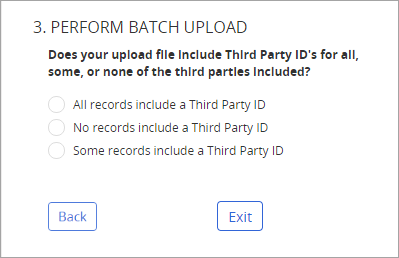
Step 4: Perform Batch Upload
-
Select the option that describes your inclusion of Third Party IDs in your uploaded file.
-
Do one of the following:
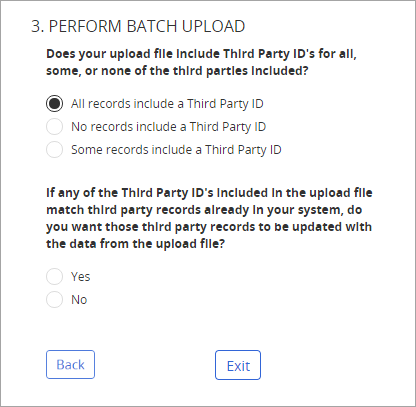
- If you selected All records include a Third Party ID, you are asked if you want the records of any third parties with matching IDs that already exist in the application updated with the information contained in the upload file. Click Yes or No.
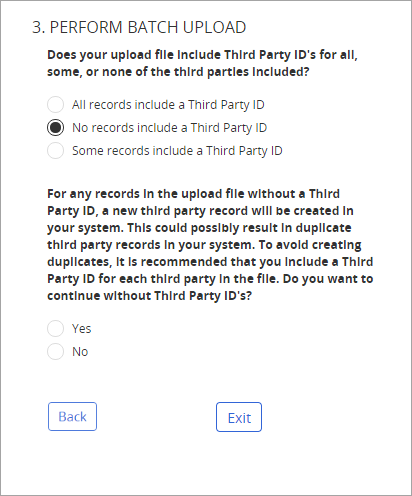
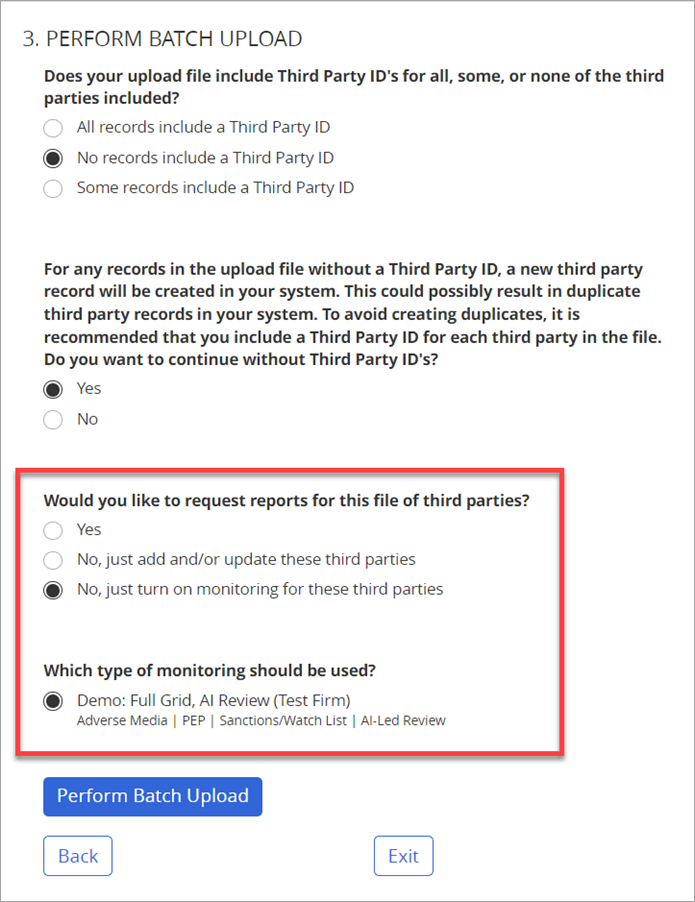
- If you selected No records include a Third Party ID, you are warned that uploading third parties without third party IDs could result in the duplication of third party records. You are then asked if you want to continue with the upload without third party IDs in the upload file. If you click Yes, move on to the next step. If you click No, click Back and then, after adding third party IDs to the upload template, repeat steps 8 through 11.
- If you selected Some records include a Third Party ID, two additional questions appear. The first asks if you want the records of any third parties with matching IDs that already exist in the application updated with the information contained in the upload file. Click Yes or No.
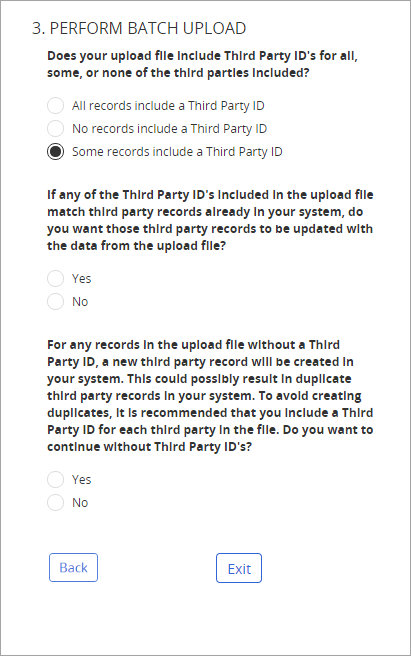
The second warns that uploading third parties without third party IDs could result in the duplication of third party records. You are then asked if you want to continue with the upload without third party IDs in the upload file. If you click Yes, move on to the next step. If you click No, click Back and then, after adding third party IDs to the upload template, repeat steps 3 through 7.
- If you selected All records include a Third Party ID, you are asked if you want the records of any third parties with matching IDs that already exist in the application updated with the information contained in the upload file. Click Yes or No.
-
At this point you can select what report, if any, you want to request for all of the third parties in the upload file. Do one of the following.
- Click Yes, whether the requested report includes an assessment, and then select the type of requested report.
(In the example below, a Business Sponsor Interview is requested for this batch upload.)
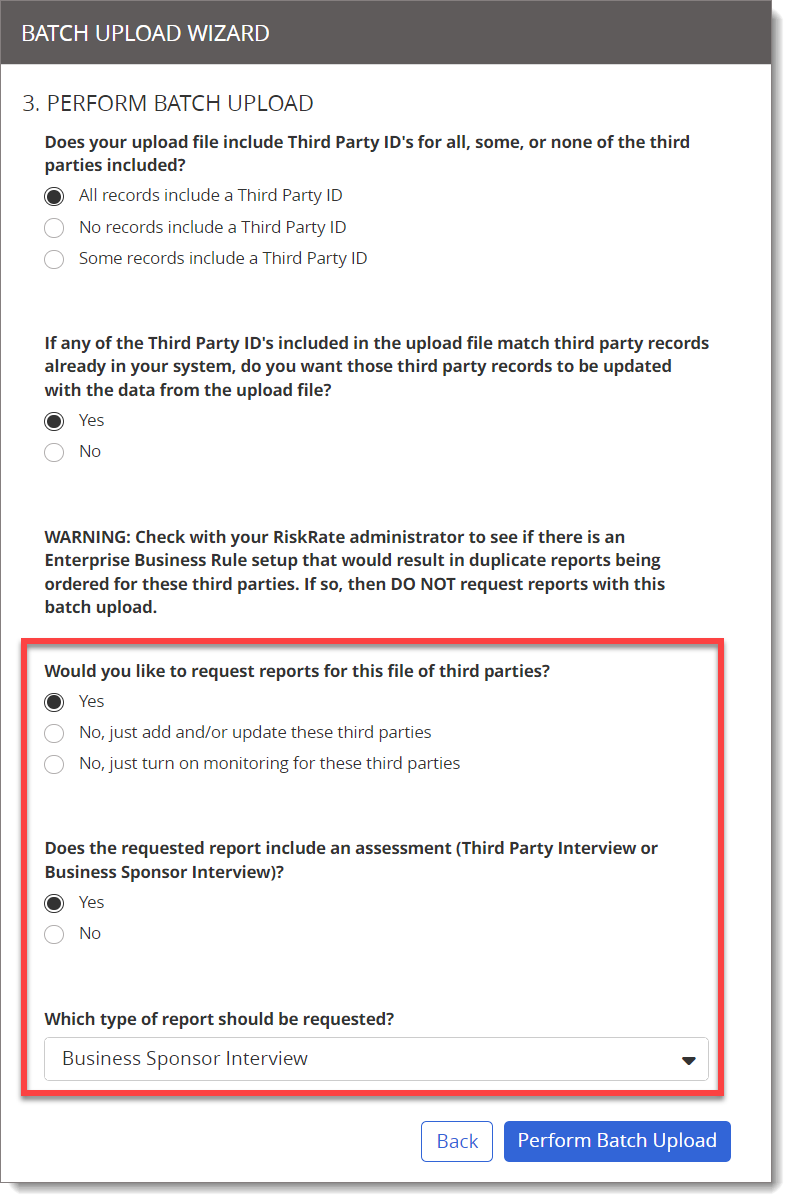
Note: The reports available for selection were configured when your Third-Party Screening & Monitoring system was set up. Additionally, Third-Party Screening & Monitoring allows the ability to request third party interviews via batch upload. Contact NAVEX Customer Support by submitting a request in the Community to enable this configuration and/or if additional report changes are requested. Specific third party contact information is required for reports that automatically request interviews. See Batch Upload Template Instructions for more information.
- Click No, just add and/or update these third parties.
- Click No, just turn on monitoring for these third parties. This allows a user to add third parties and activate monitoring without requesting a screening. Users will be able to select the appropriate monitoring type based on options that were configured during the implementation process.
- Click Yes, whether the requested report includes an assessment, and then select the type of requested report.
(In the example below, a Business Sponsor Interview is requested for this batch upload.)
-
Click Perform Batch Upload.
-
A Batch Upload success message displays. Click OK to continue.
Step 5: Batch Upload Confirmation
-
A Batch Upload Confirmation prompt shows what actions will be taken if you continue. The display message shows how many third parties will be created and/or updated. It also shows (up to) the total number of ordered reports, and that Reputation screenings will not be ordered for entities that are currently monitored. Click Yes to continue.

-
Another confirmation prompt informs further validation and an email confirmation with status and next-step instructions will follow. Click OK to continue.
-
A status bar appears while the batch upload is processed. When the process is finished, you are returned to the Batch Upload page with the new batch upload listed in your upload history.
Copyright © 2026 NAVEX Global, Inc. NAVEX Global® is a registered trademark/service mark of NAVEX Global, Inc. The NAVEX Global® logo is a trademark/service mark of NAVEX Global, Inc. Unauthorized use of NAVEX Global, Inc.’s trademarks/service marks is strictly prohibited without prior written permission from NAVEX Global, Inc.